

How to Take Care of Your Vapes Coil and Tank
Ah, that feeling of opening your brand new vape for the first time - the sunlight glistening on the shiny, untouched mod with its clean coil and tank. But alas, after many uses you notice that there starts to be a burnt out, giving a bad taste each time you vape and that once-new tank starts to feel sticky and uncomfortable to use. The bottom line is, whether you are an amateur or vaping-pro, one of the crucial parts of your vaping experience is looking after your vape by knowing when to replace and clean the parts.
Why is it important?
You might be wondering why it is SO important to take care of your vape by keeping both the coil and tank clean. Firstly, your vape can harbour plenty of harmful bacteria which in the long-term will decrease the life-span and performance of your vape. After you have purchased the vape itself the only recurring costs you should experience is the cost of the vape juice and the coils themselves. By taking care of the vital components of your vape you could be saving yourself a lot of money!
How do you know when to change your coil?
One of the most important ways to prolong your vape life and performance? Knowing when to replace the coil. Generally speaking, coils last 2-3 weeks but can last much longer. To help you know when to replace your coil, we’ve put together a list of telltale signs that it's time to be out with the old and in with the new:
1) There is a burnt taste in your mouth when you are vaping
2) There is a burnt smell
3) The juice doesn’t taste the same as it normally does or how you expect it should be
4) The tank is getting too hot
5) Difficulty in producing enough vapour
6) The tank starts to leak
If you are experiencing the above telltale signs, it is quite easy to unscrew the old coil and replace it with a new coil. Just baring in mind you allow enough time for the cotton within the coil to become saturated with the juice. This can be done by allowing the juice to sit in the tank for 5-10 mins. Bigger the coil more time is required!
It is possible to speed the process up by adding few drops of your liquid directly to the cotton within the coil and then fixing the coil to your tank. Once fixed you can fill your tank with juice and put it together to vape. Without putting the tank on you can mimic the vaping action and this helps draw the liquid into the coil. It is advisable to draw quite heavily on the vape about 5-7 times which should be sufficient to saturate the coil.
Coils are relatively cheap, and for a single coil, you can expect to pay around £2-6. Coils can also be bought in multipacks, which is handy due to their short life span because no one wants to be caught short without a replacement. Explore our wide range of individual and multipack coils here.
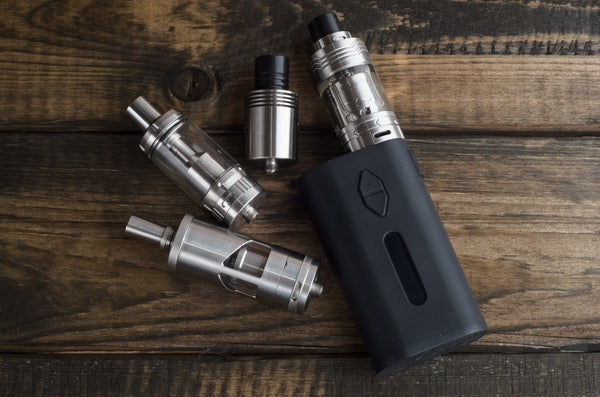
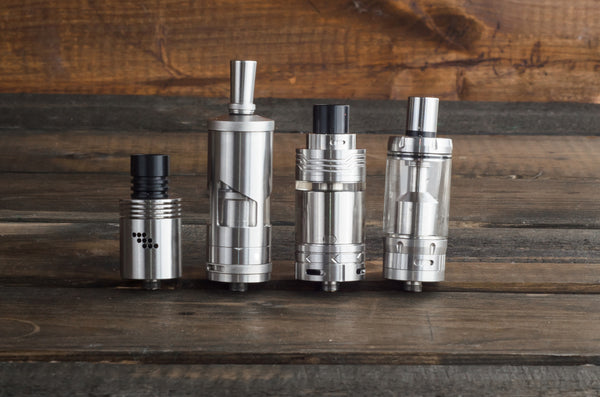
How to take care of your tank
So your coil has been replaced, but what about your vape’s tank? As we have established, for an optimal vaping experience it’s important to keep your vape’s coil and tank clean of any excess vape juice. Vapes can come in all different shapes and sizes, so when taking your vape’s tank apart pay close attention to how everything fits together and familiarise yourself with its components.
One way you can clean your tank is using a standard rinse. To do this, you can rinse the tank using warm water and then dry it using a paper towel. If you feel your tank is much dirtier than usual you can leave it to soak in boiling water until the water itself cools down. If you choose to air-dry your tank we would again recommend leaving it to thoroughly dry overnight to ensure there is no water or condensation left inside. Some people may choose to dry their tank using a hair dryer, however, be careful as using too much heat can damage the O-rings.
You may not know, but your kitchen cupboard is home to some simple household items which are great for giving your tank a deep clean. Baking soda or vinegar mixed with a drop of water will remove any tough residue and leave your tanks glistening once more. If you do choose to go down this route you must make sure you have undergone a thorough rinsing process otherwise the tank will be left with a lingering smell.
For those vaping pros out there, you might decide to invest in an ultrasonic cleaner so your coil and tank can be the cleanest possible. Ultrasonic cleaners are used for cleaning jewellery and other precious metals, so as long as you can find one that cleans for over ten minutes you will be good to go. Ultrasonic cleaners are an effective and simple way of cleaning your coil and tank because all you need to do is simply fill it with water and run it until you can see that your tank has been effectively cleaned.
In conclusion, the more you take care of and correctly clean your coil and vape, the longer you will prolong the life of your vape, ultimately saving yourself money and unnecessary trips to the vape shop! If you would like more information on how to effectively take care of your coil and tank, why not sign up with us so we can stay in touch on all things vape-related
Further Reading
How to Quit Smoking Using Vape